The best pole setup for a Bird Buddy feeder is a freestanding metal or composite pole that puts the feeder between 5 and 6 feet off the ground, sits on a flat stable surface at least 10 feet from trees, and uses a shaft sized to match Bird Buddy's Universal Pole Mount. That one sentence covers the essentials, but getting there in practice means making a handful of real decisions: which pole type fits your yard, what diameter actually works with the mount, and how to lock everything down so your feeder is not wobbling every time the wind picks up. Let's work through all of it.
Best Pole for Bird Buddy: How to Choose, Height, Setup

Marcus Chen
20 Apr 2026
What the pole actually does for your Bird Buddy setup
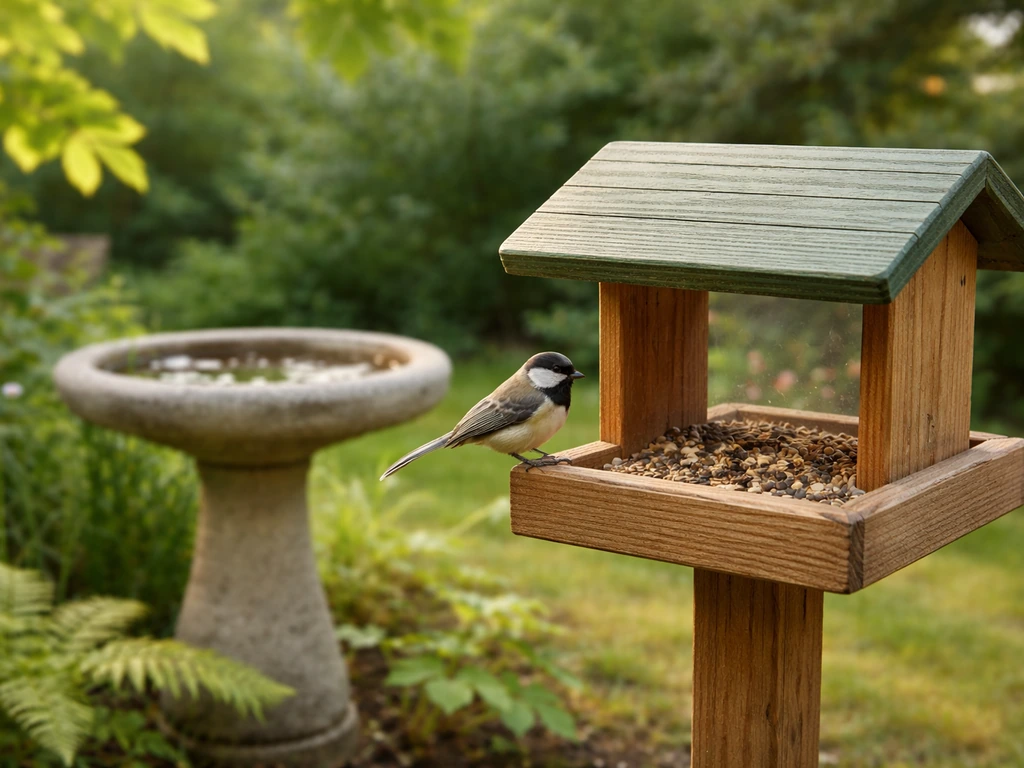
A Bird Buddy is not just a feeder. It is a feeder with a camera built in, and that camera changes everything about how you position the unit. The original Bird Buddy camera covers a 120-degree field of view, so height and angle directly determine whether you capture clean bird portraits or just a blurry wing tip. Get the pole wrong and you get footage that is either too far away to identify species, aimed at the sky, or looking straight down at seed with no perch in frame. The pole is what controls all of that.
On top of camera coverage, the pole handles three other jobs: it lifts the feeder off the ground to protect visiting birds from cats and other predators, it keeps the feeder stable so the camera is not vibrating every time a bird lands, and it holds everything at a height where you can actually refill it without needing a ladder. None of these are complicated, but they all pull in slightly different directions, and the pole you choose is the piece that brings them together.
Pole types and mounting options: what you're actually choosing between
Bird Buddy officially supports four mounting approaches: a universal pole mount (for any compatible pole you source yourself), the proprietary Nature Station pole system, a wall mount add-on for flat vertical surfaces, and the included metal hanger for hanging from a hook or bracket. For most first-time setups, you're choosing between the first two plus the wall option. Here's how each one plays out in practice.
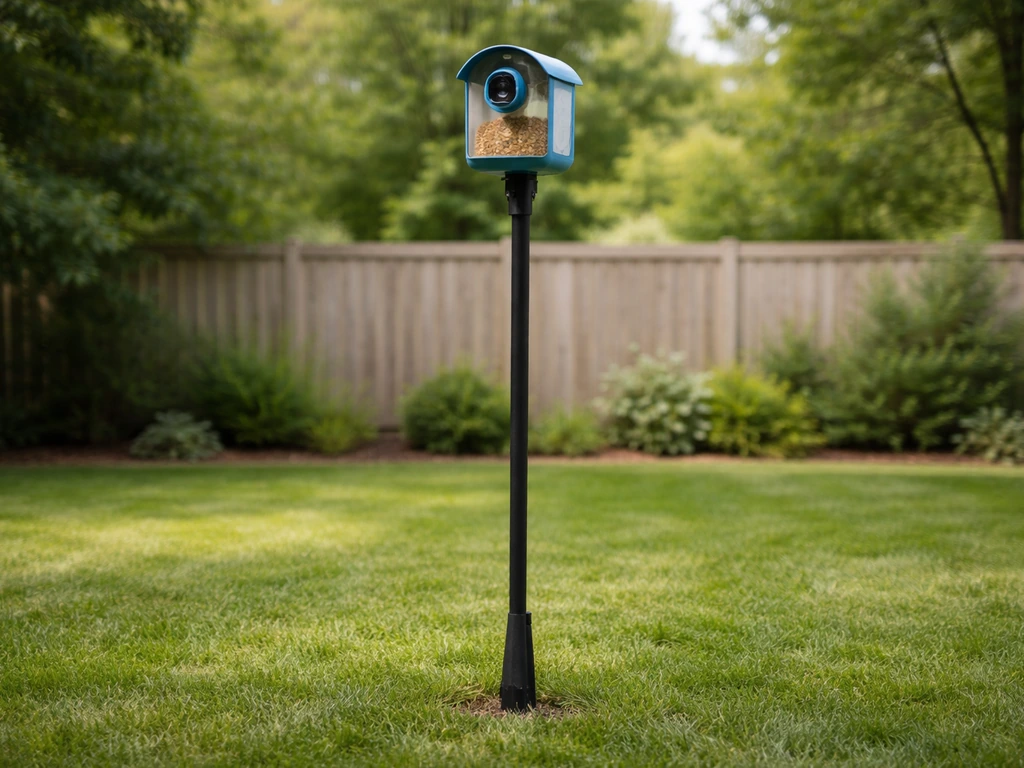
Freestanding pole (universal pole mount)
This is the most flexible option. You buy any birdhouse pole that matches Bird Buddy's diameter spec, attach the Universal Pole Mount to the feeder using the four included M4 Phillips screws, and slide the feeder onto the pole. The pole itself is not included with any Bird Buddy package, which catches a lot of first-time buyers off guard. You need to source it separately. The important spec: the Universal Pole Mount requires a pole with an inner diameter of 0.97 inches (2.5 cm), while the Bird Buddy 2 version fits a pole with a 1-inch (2.54 cm) outer diameter. Those numbers are close but not identical, so check which generation you have before ordering a pole.
Bird Buddy Nature Station (modular pole system)
The Nature Station is Bird Buddy's own pole kit, and it is the easiest way to get the whole setup right without measuring anything. It stands 92 inches tall (234 cm), uses ASA plastic, larch wood, and stainless steel construction, and is designed to work with Bird Buddy's accessories out of the box. If you want a clean, matched system and you're not trying to repurpose a pole you already own, this is worth the extra cost. The modular design also means you can add components over time.
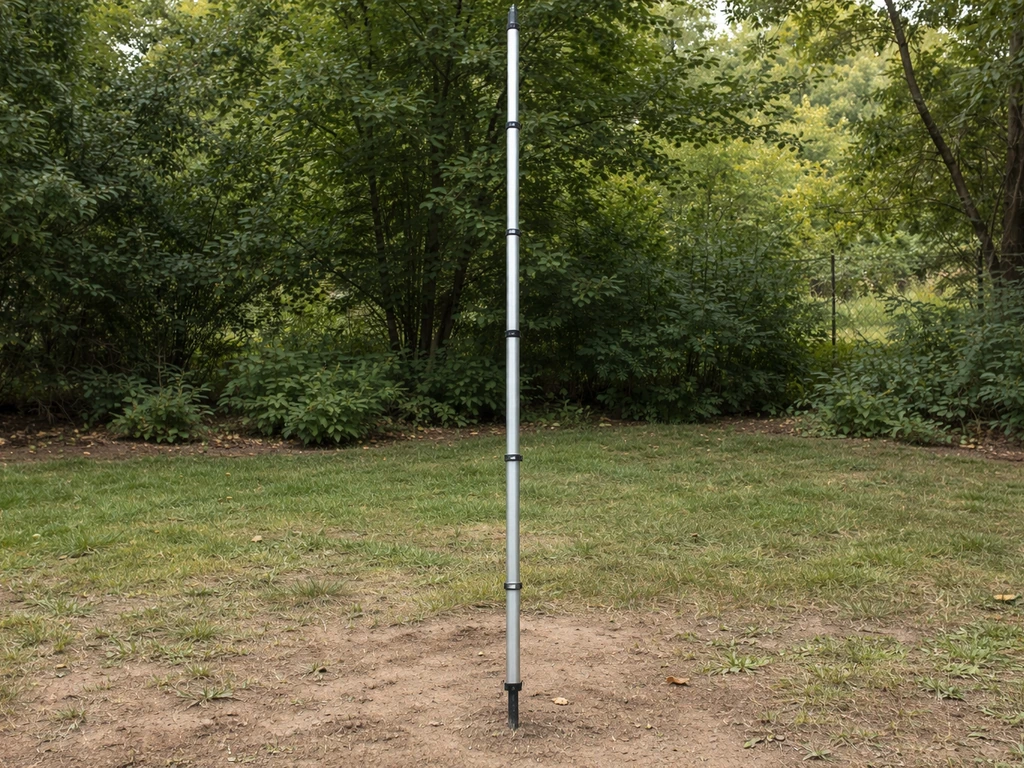
Ground stake
Many standard birdhouse poles come with a ground stake base that you drive into soil. This works well in lawns or garden beds but is genuinely bad on hard ground like gravel or compacted clay, where the stake either won't go deep enough or shifts with rain and frost. If your outdoor space is mostly hard surfaces, skip the stake style entirely.
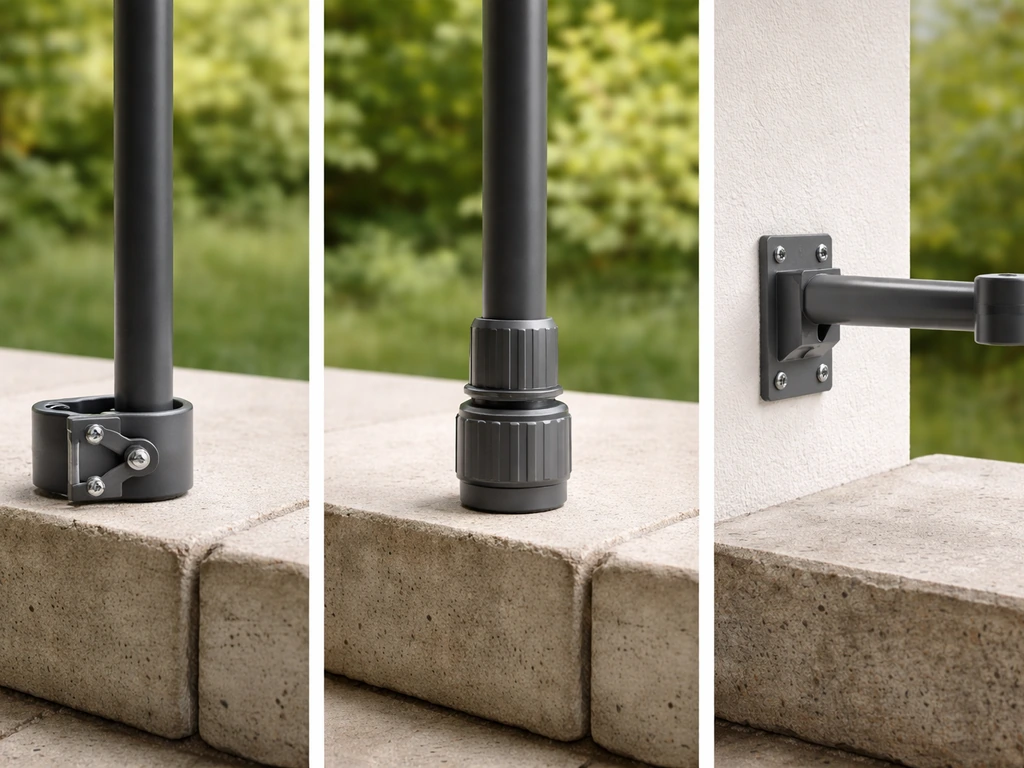
Wall mount and rail mount
The Bird Buddy wall mount is a purchasable add-on designed for flat vertical surfaces, like a house wall, wooden fence panel, or vertical fence post. It includes a durable powder-coated finish to prevent rust, and importantly, it lets you rotate the feeder to change the direction the camera is aimed, which is the main way you fix a bad view angle after installation. This is a good option for small yards, balconies, or anywhere you don't have open ground. Note that the Universal Pole Mount also serves as the attachment piece for the wall mount on Bird Buddy 2, so you may already have what you need.
Getting height and placement right
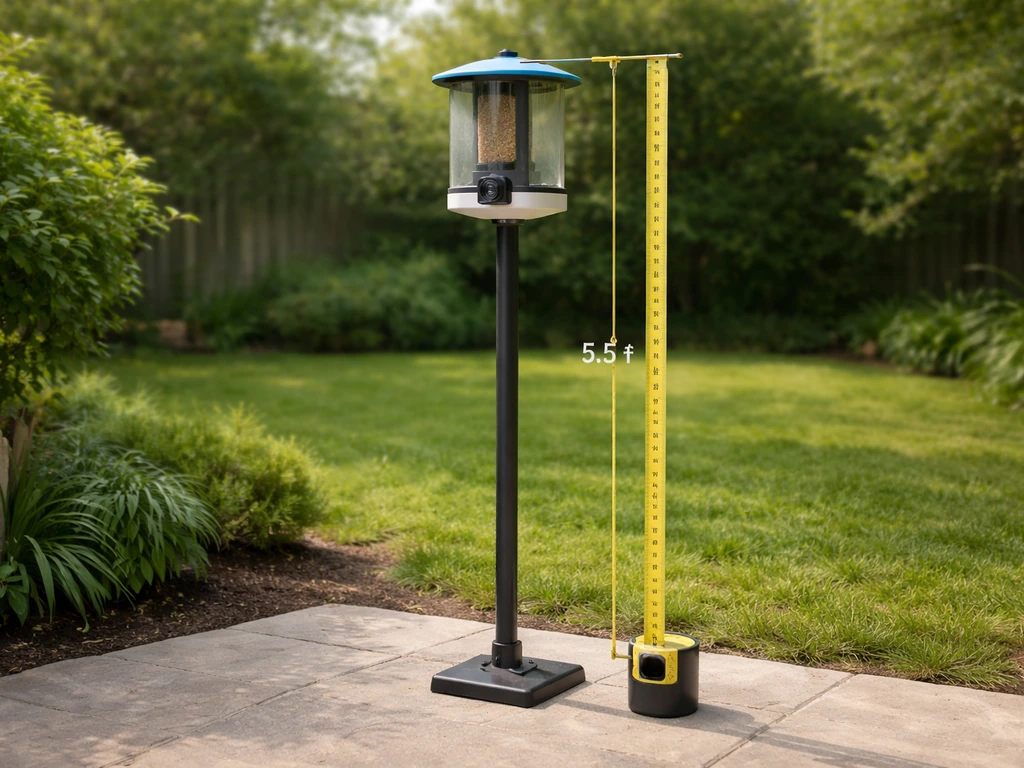
The sweet spot for Bird Buddy height is 5 to 6 feet above the ground. That range gives you a natural eye-level view of visiting birds, keeps the feeder within reach for refilling, and positions the 120-degree camera to capture both the tray and the perches without requiring you to tilt anything dramatically. Some guides suggest 4 feet is fine, and it can be for ground-feeding species, but at that height a roaming cat can make the whole feeding station feel unsafe to birds, especially smaller species.
If you are using the Nature Station squirrel baffle, place it at least 5 feet (150 cm) above the ground to actually work. Factor that into your total height calculation, since the baffle sits below the feeder and eats into your effective pole height.
Placement relative to obstacles matters as much as height. Bird Buddy's own guidance says to keep the feeder at least 10 feet (3 meters) from trees, fences, and anything else a squirrel could use to launch onto it. Beyond squirrel access, you also want open space on at least two or three sides so birds have clear approach lines, because birds almost never land directly onto a feeder from above. They like to survey first from a nearby branch or open perch.
Before you finalize placement, open the Bird Buddy app and check Wi-Fi signal strength at the spot. You can check Wi-Fi signal strength using indicators on your phone or operating system, and for more detail you can use tools like Airport Utility on iOS or WiFi Analyzer on Android check Wi‑Fi signal strength at the spot. The camera streams live video, and a weak signal is one of the most common reasons people think their Bird Buddy is broken when it is actually just too far from the router. Walk the pole out to where you want it and check signal before you start digging or driving a stake.
Materials, weather resistance, and UV durability
Your pole lives outside year-round, so material choice is not cosmetic. The main options you'll encounter are powder-coated steel, galvanized steel, aluminum, and composite or plastic poles. Each handles weather differently.
| Material | Rust Resistance | UV Resistance | Weight/Stability | Best For |
|---|---|---|---|---|
| Powder-coated steel | Good (if finish intact) | Good | Heavy, very stable | Most yards, windy spots |
| Galvanized steel | Very good | Fair | Heavy, very stable | High-moisture or coastal areas |
| Aluminum | Excellent | Good | Light, moderate stability | Portable or renters |
| ASA/composite plastic | Excellent | Excellent (ASA rated) | Light, needs weighted base | Low-maintenance setups |
| Larch wood | Good (treated) | Fair (needs maintenance) | Moderate | Nature Station system only |
Bird Buddy's own hardware choices tell you what to look for in third-party poles: the Nature Station uses ASA plastic (an outdoor/UV-stabilized polymer) and stainless steel hardware, and the Universal Pole Mount screws are specifically 316 stainless steel, which resists saltwater corrosion far better than standard steel. If you're buying a third-party pole, look for similar choices: powder-coated or galvanized steel shafts and stainless or zinc hardware at the joints. Avoid anything with plated-only steel hardware if you're in a wet climate.
Stability and security: how to stop wobble, falls, and tampering
A wobbly pole is one of the most frustrating Bird Buddy problems because the vibration triggers the camera and drains the battery without capturing anything useful. The first thing Bird Buddy's own Nature Station guide emphasizes is choosing a flat surface, because uneven ground is the leading cause of a pole that never quite sits straight. This sounds obvious but I cannot tell you how many people set up on the edge of a garden bed where the soil compaction varies by a few inches and wonder why their pole leans after the first rain.
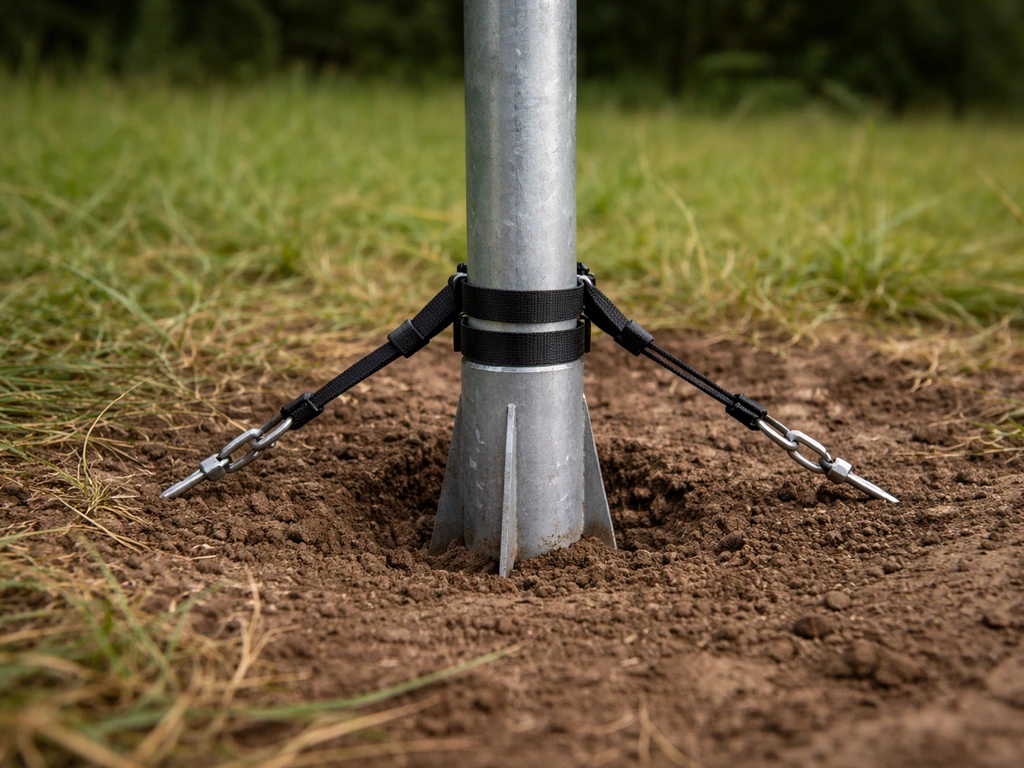
For ground stake poles, drive the stake at least 12 inches into firm soil and test it by pushing the top of the pole sideways with moderate force before mounting the feeder. If it rocks more than a centimeter or two, go deeper or relocate. In sandy or loose soil, a weighted base plate or a small concrete anchor (a couple of inches of quick-set concrete poured around the stake) makes a real difference.
For freestanding stands with a disc or plate base, the stability comes from weight. A heavier base is better. Some people add a weight (a flat rock, a paving brick) on top of the base disc to reduce tip-over risk in strong wind. Bird Buddy feeders are not particularly heavy, but once a squirrel hits the pole at full speed, a light stand will topple.
Tampering is less of a concern than stability but still worth thinking about. If your yard has raccoons or large dogs, a stake pole driven deep into the ground will resist being knocked over far better than a lightweight stand. Wall mounts obviously eliminate tip-over risk entirely, but then you lose the placement flexibility.
What actually makes a pole the 'best' for Bird Buddy
People search for the best pole and expect a single product name, but honestly the best pole is the one that fits your mount spec, your yard conditions, and your budget, and gets installed securely on day one. If you are also planning a hunting setup, compare this stability and fit checklist to the best choke for bird hunting so your gear choices work together.
When you compare options, the best bird bait approach also matters, because the food and placement you choose affect how quickly birds show up and how consistently they visit best pole is the one that fits your mount spec. This is why choosing the best bird decoy for your feeder and local birds can make the difference between a quick visit and days of no activity best bird bait approach.
Once you know your Bird Buddy mount and yard conditions, choosing the right pole size becomes much easier and prevents wobble or poor camera positioning what size pole to use for Bird Buddy. The same idea applies when you are looking for the best monopod for bird photography, since the right setup depends on your mount, your space, and whether it stays steady in real conditions. That said, here is a concrete decision checklist so you're not guessing.
- Check your Bird Buddy generation: original Bird Buddy needs a pole with 0.97 in (2.5 cm) inner diameter; Bird Buddy 2 needs a pole with 1 in (2.54 cm) outer diameter.
- Decide on a mounting style: freestanding pole for open yards, wall mount for patios/balconies/fences, or the Nature Station if you want an all-in-one kit.
- Target 5 to 6 feet of finished feeder height, accounting for the stake depth and any baffle (baffle needs to sit 5 ft above ground).
- Pick a weather-appropriate material: powder-coated or galvanized steel for most yards, aluminum for portability, ASA composite for zero-maintenance preference.
- Confirm the pole is rated for outdoor UV exposure if it's plastic or composite.
- Check Wi-Fi signal at your chosen location before committing to placement.
- Place at least 10 feet from trees and climbable structures.
- Consider add-ons: the Perch Extender fits between the Universal Pole Mount and the housing and is worth it if you want to attract larger birds without changing the pole.
- Test for flatness and drive the stake or position the base before attaching the feeder.
On compatibility and add-ons: the Universal Pole Mount uses four M4 x 0.5mm fine-thread screws (6.5 to 8 mm long, 316 stainless steel) and a Phillips head screwdriver. That is all you need tool-wise for the attachment. If you're also considering what size pole to use, there's a lot of detail worth reviewing before you order, since the diameter tolerances are tight enough that the wrong pole simply will not seat correctly in the mount.
Troubleshooting: common beginner mistakes to avoid
Wrong height or camera angle is the most common complaint from new users. If your live feed shows mostly empty sky or you can barely see the perches, the feeder is almost always too low or angled too steeply. Raise the feeder to the 5 to 6 foot range and check the app preview before you finalize anything. On Bird Buddy 2, remember you can rotate the camera 90 degrees inside the battery holder to switch between landscape and portrait orientation, and the app adjusts automatically. This gives you another tool for fixing a view that doesn't feel right.
Unstable ground is the second most common issue. If your pole leans or vibrates in wind, birds will avoid it. They are much more sensitive to an unsteady perch than most new owners expect. A feeder that sways is a feeder that gets ignored. Take an extra ten minutes to set the base firmly before the first seeds go in.
Placing the feeder too close to trees is a mistake that bites people in two ways: squirrels reach the feeder regardless of baffle quality, and birds become nervous about predator ambush from above. The 10-foot clearance rule from Bird Buddy's own squirrel prevention guidance exists for both reasons.
Skipping the Wi-Fi check before installation is easy to forget but genuinely costly. Walking a pole out 20 feet from the house to get better bird activity, only to find the connection is too weak for reliable streaming, means pulling the whole stake and starting over. Check signal with your phone at the exact spot first.
Finally, one mistake that does not get talked about enough: using a pole with the wrong diameter and assuming it will just work. The mount is designed for tight tolerances. A pole that is even a few millimeters off will either not seat properly or will wobble inside the mount constantly, and no amount of tightening the screws will fix a dimensional mismatch. Measure the pole you are considering and compare it to the spec for your Bird Buddy generation before ordering.
Your next steps, in order
- Confirm which Bird Buddy generation you have and write down the matching pole diameter spec.
- Walk your yard and identify two or three candidate locations that are flat, at least 10 feet from trees, and within Wi-Fi range.
- Check signal strength at each location with your phone.
- Decide on pole type: Nature Station kit for a turnkey setup, freestanding pole for flexibility, or wall mount for small spaces.
- Source a pole that matches the diameter spec and is made from powder-coated steel, galvanized steel, or ASA composite.
- Install the base or drive the stake, test for stability, then attach the Universal Pole Mount with the four included screws.
- Set the feeder at 5 to 6 feet, open the app, check the live preview, and rotate the camera orientation if needed before committing.
FAQ
If the camera angle looks wrong after setup, can I just rotate or adjust it instead of moving the pole?
Not always. The Bird Buddy 2 camera can be rotated and the app helps with orientation, but a very poor placement (too low, too close to clutter, or angled toward blank sky) still produces unusable video. As a quick test, open the app at the final height and confirm you can see the tray and at least one perch before you fully commit to the pole location.
What should I do if a third-party pole “almost” fits the Universal Pole Mount?
If your Universal Pole Mount fits but the pole is slightly off-spec, you may get a loose fit that you cannot fully correct with the screws. Measure the pole’s outer diameter (and compare to the Bird Buddy 2 1-inch outer diameter, or the other generation’s spec) and check for wobble after mounting, then remove and swap if it shifts even a small amount.
Can I raise the feeder higher than 6 feet to get better wildlife footage?
Yes, but avoid overcompensating. If you raise the feeder above the 5 to 6 foot target to improve camera framing, you can end up with a view that captures more sky and less perch. A better approach is to keep the main height in range, then use rotation on a wall mount or adjust the camera orientation in the Bird Buddy app (after confirming signal and stability).
How do I prevent a ground-stake pole from leaning after the first rain?
For stake poles, a common mistake is driving the stake in on the sloped edge of a bed or on soft patches, which causes leaning after rain. Push the stake in deeper than the minimum the first time (aiming for firm soil contact), then do the sideways push test before mounting the feeder, and retighten only after the pole is sitting straight.
Is it okay to add weight to a freestanding pole base for wind stability?
Use weight thoughtfully. Adding a heavy object inside or on top of an adjustable base can reduce tip-over in wind, but make sure it does not interfere with the pole mount’s base disc or create a gap that allows rocking. For freestanding stands, try incremental weight and retest for wobble with the feeder mounted but empty before filling with seed.
Will a stable pole stop squirrels, raccoons, or pets from knocking the feeder over?
You generally should not rely on a pole alone to stop raccoons or determined knocks. If you have large dogs or raccoons, prioritize a deeper stake into firm ground or choose the wall mount where possible, because even a stable-looking stand can be toppled when hit at full speed.
My Bird Buddy connects, but the live video is unreliable. Is my pole placement the problem?
If your phone can connect but live streaming looks choppy or freezes at the feeder spot, it is usually range and not a camera fault. Walk your pole to the exact placement and check Wi-Fi strength in the app before driving stakes, because moving the setup later can mean redoing the entire installation.
My pole feels steady at first, but the camera vibrates when birds land. What’s the next step?
Yes, uneven ground can cause vibration even if the pole seems stable at first. After installation, watch the feeder when you gently bump the pole by hand, if the top oscillates, vibrations will carry to the camera. Relevel by relocating or improving the base, not by tightening alone.
What’s the best pole option for gravel or compacted clay yards?
If you must use hard surfaces like gravel, stake-based poles often underperform because the stake cannot anchor into firm soil. A practical alternative is a freestanding weighted stand or a ground anchor approach (quick-set concrete around the stake or a suitable anchor rated for outdoor use) so the base resists shifting during frost and rain.
If I add the Nature Station squirrel baffle, how do I avoid messing up the feeder height for the camera?
It helps, but make sure the baffle location does not force you to change your effective feeder height out of the 5 to 6 foot sweet spot. Since the baffle sits below the feeder, re-calculate total height so the baffle remains at least 5 feet above ground and the camera still has a clear tray and perch view.
Next Article
Garden Bird Checklist: Wild Species, IDs, and Tracking Tips
Ready-to-use wild garden bird checklist with IDs, field marks, tracking tips, and a bird station setup for beginners.