You need two things to go bird watching: a pair of binoculars and something to help you identify what you're seeing, whether that's a field guide or a free app like Merlin Bird ID. Once you know the basics, it gets much easier to figure out what you need for a birding trip that fits your area and your comfort level. Everything else, from cameras to tripods to specialized clothing, is optional. If you have those two things today, you can go birding today.
What Do You Need for Bird Watching: Beginner Gear List

Marcus Chen
26 Apr 2026
Where to actually start
Most people overthink this. They spend weeks researching gear before ever stepping outside, and then they go out underprepared in the ways that actually matter, like not knowing what birds live in their area or not practicing with their binoculars before they need to use them. The honest starting point is this: bird watching is a low-barrier hobby. REI's birding guidance puts it simply: binoculars and a field guide are all you will ever truly need. Start there, get outside, and add gear as you figure out what you're missing.
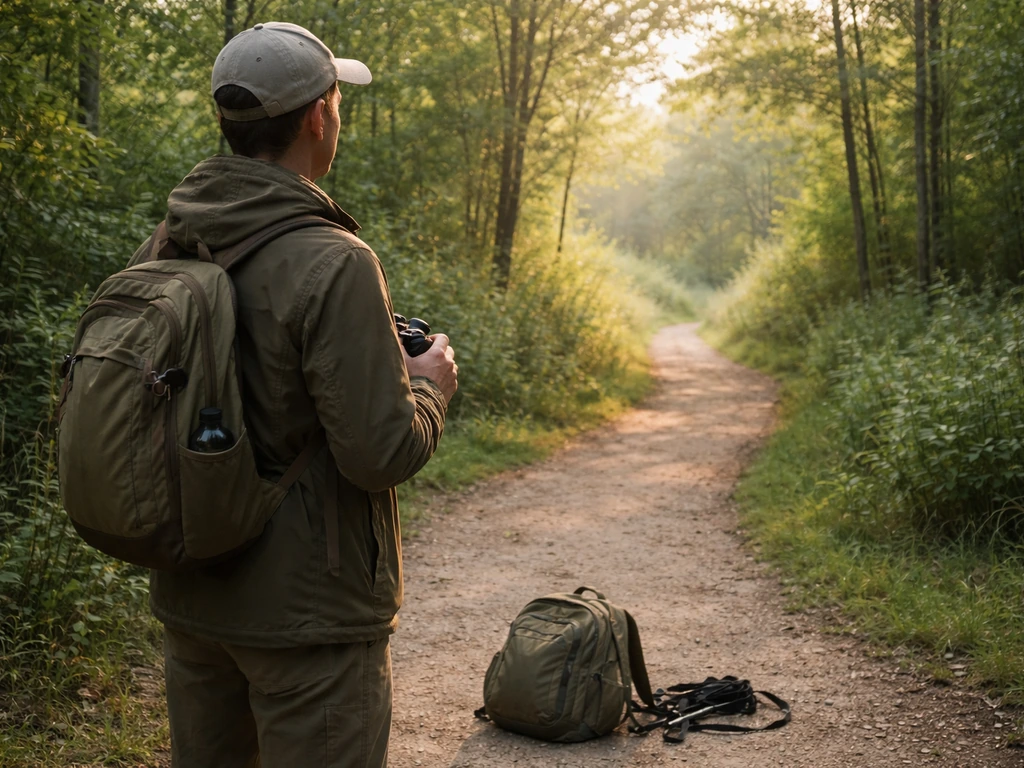
The best place for your first outing is somewhere local and familiar. A nearby park, a nature trail, or even your backyard counts. You don't need a national park or a rare-species hotspot. What you need is a place where you can stand still, look around, and practice finding birds through your binoculars without worrying about getting lost or parking. Once you get comfortable with that, apps like eBird can show you nearby birding hotspots ranked by species count, which is a genuinely useful next step.
The core gear checklist
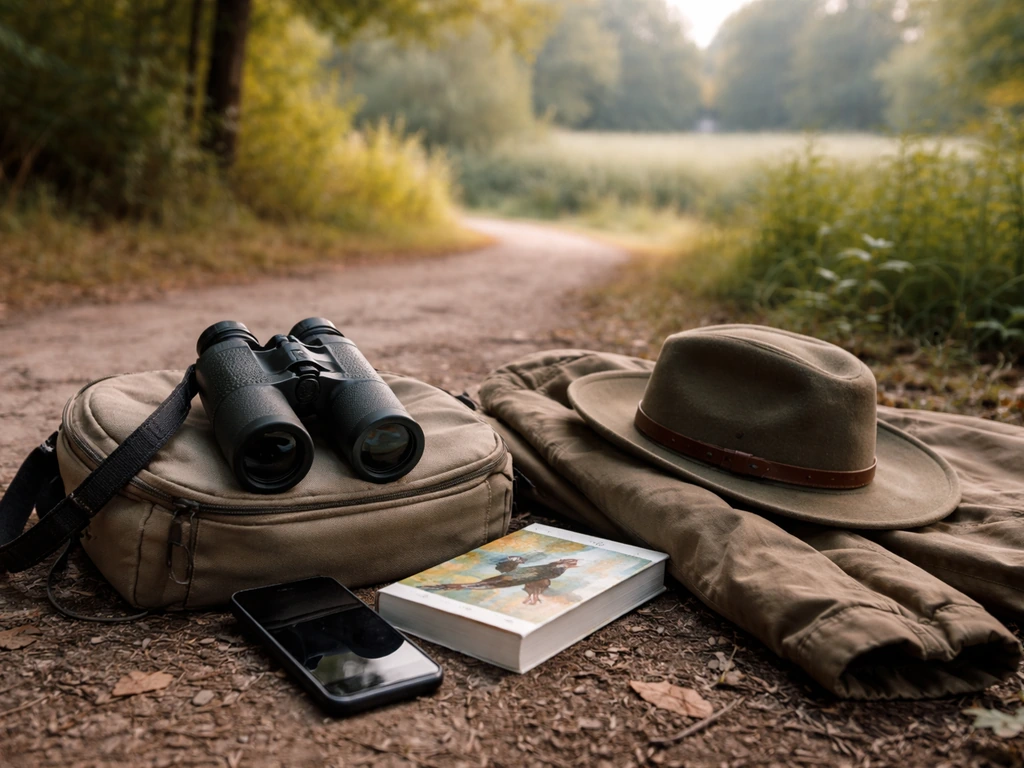
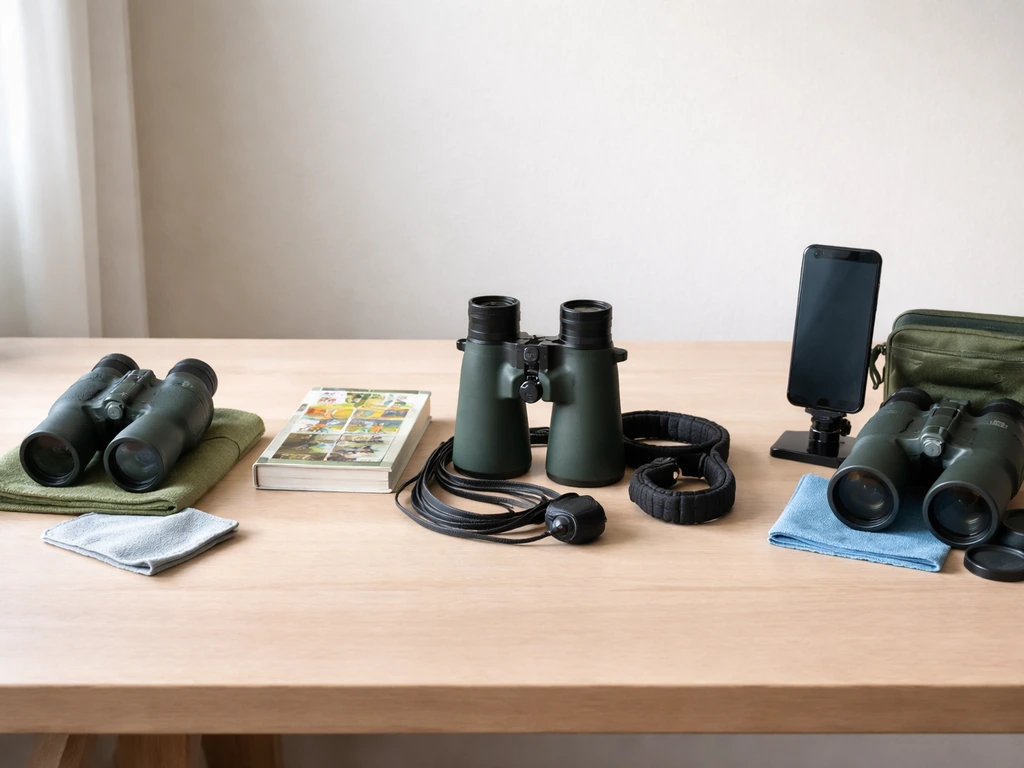
Here's what you actually need to bring on a first outing. Keep it short. Adding more stuff just means more to carry and more to think about when you should be watching birds.
Binoculars: the most important purchase you'll make
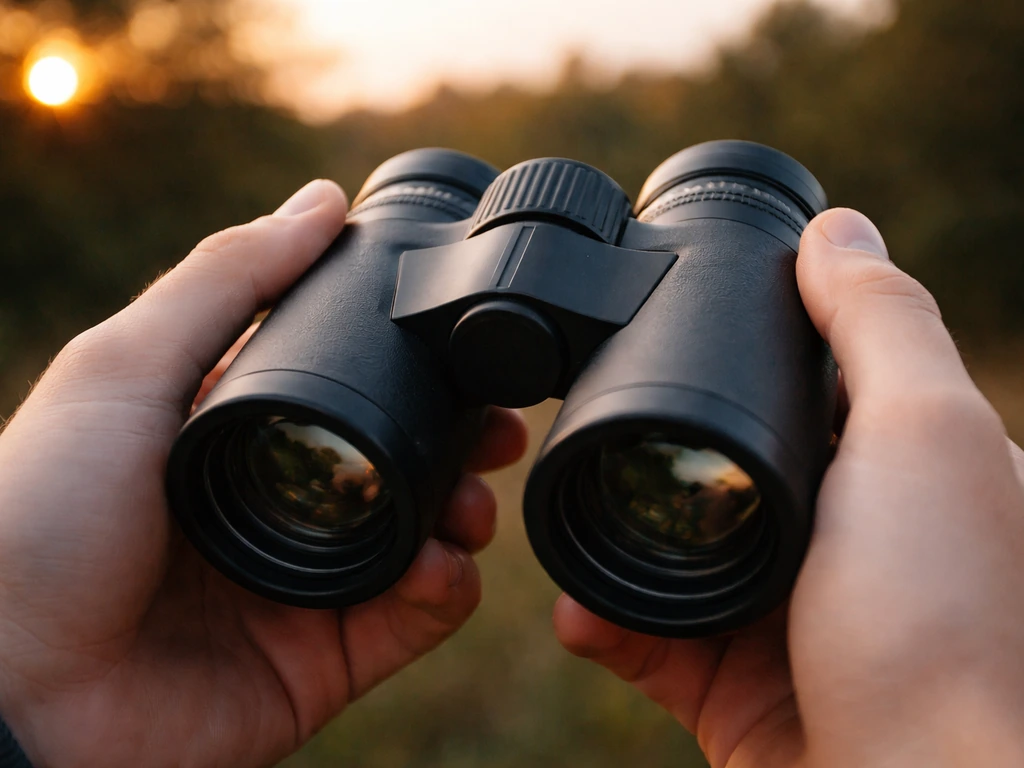
Get an 8x42. That's the magnification and objective lens size, and it's the most practical all-around choice for beginners. Audubon and Cornell Lab both land on this same recommendation. The 8x means 8 times magnification, which gives you enough detail to identify birds without the shaky, narrow field of view you get with higher-power models like 10x or 12x. The 42mm objective lens is large enough to gather decent light, including in shady woods or overcast days, but not so heavy that carrying them becomes a workout.
Avoid the temptation to go higher than 8x. I made this mistake early on, thinking more magnification equals better birding. It doesn't. High-power binoculars are harder to hold steady, have a narrower field of view, and make it much harder to track a moving bird. Also avoid anything smaller than 30mm objective, because the image gets dim fast in anything less than full sun. The sweet spot for most beginners really is 8x42.
A few other specs worth knowing before you buy: look for a center focus wheel rather than separate barrel adjustments (Audubon specifically recommends against separate-barrel focus for birding because speed matters), and blank" rel="noopener noreferrer">if you wear glasses, check the eye relief spec. You want at least 16mm of eye relief, ideally closer to 20mm, so you can see the full image without pressing the eyecups into your glasses. Most good birding binoculars list this.
Budget-wise, Cornell Lab's binocular review sets the entry-level tier at roughly $130 to $240 for full-size 8x42 models. You can find solid, usable optics in that range. Mid-range runs $240 to $650 and gets you noticeably better glass, edge sharpness, and waterproofing. Don't feel like you need to start in the mid-range. A $150 pair of 8x42s will serve you fine while you figure out what kind of birding you actually enjoy.
A field guide or identification app
You need something to look up what you just saw. The two main options are a physical field guide and the Merlin Bird ID app, and honestly, using both together is ideal.
For a field guide, pick one organized by region if you can, and make sure it includes range maps. Range maps tell you which birds actually live in or migrate through your area at a given time of year, which is the single most useful filter when you're narrowing down an ID. Audubon specifically calls out range maps and topography diagrams as key features to look for in a beginner-friendly guide. National Audubon Society Field Guides organized by region, or the Sibley Guide to Birds, are common starting points.
Merlin Bird ID, made by Cornell Lab, is free and works on your phone. Its photo ID feature gets the correct species in the top three results 90% of the time, and its overall visual ID accuracy hovers around 98%. It also works offline after you download a region's data, which matters if you're birding somewhere without cell service. One caveat: Merlin's suggestions are based on eBird data, so it may be less precise in very remote areas where fewer observations have been recorded. For most birding in the US, it's remarkably accurate and genuinely useful.
Clothing and footwear
You don't need to buy anything special for your first outing. Wear clothes you don't mind getting dirty, and dress for the weather. If it rains, make sure your rain shell helps keep you dry so you can keep watching and identifying birds without cutting the trip short. That said, a few practical principles will save you from a miserable morning.
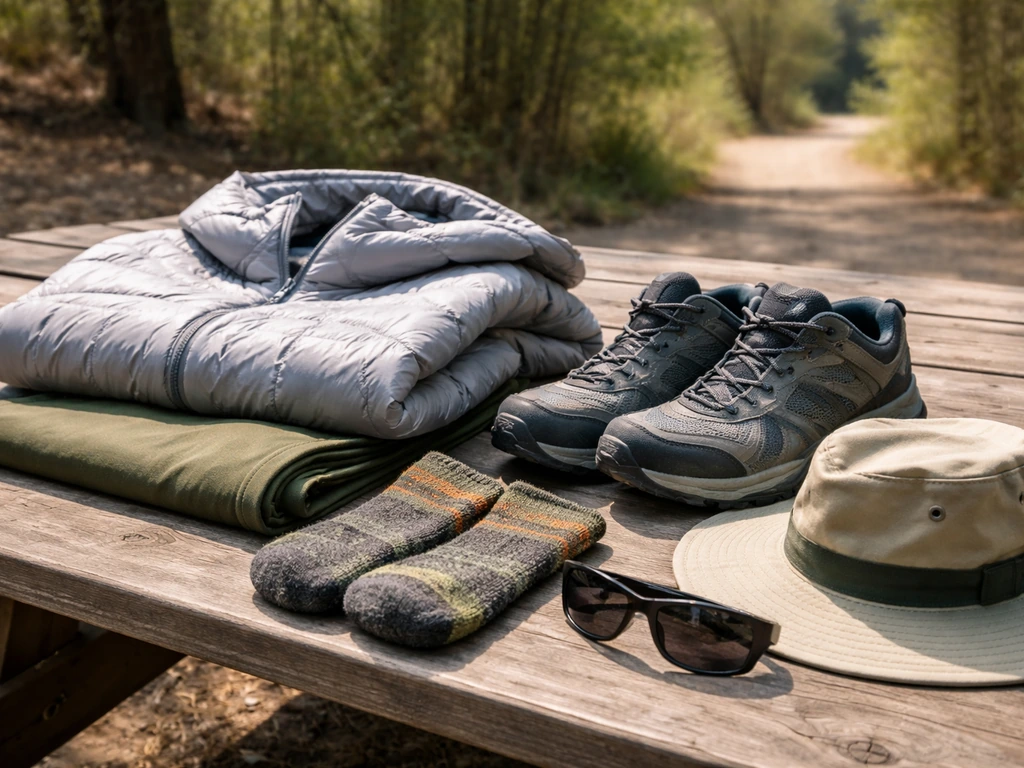
Stick to muted, natural colors where possible (bright colors can spook birds, especially smaller songbirds). Wear layers, because you'll often start cold and warm up fast once you're moving. Bring a rain shell if there's any chance of rain, and wear footwear with decent traction if you're going anywhere off a paved path.
If you're caught in wet weather, focus on staying dry and safe with a rain shell, and for the bird side of the question, see what does a bird need in the rain batman as a related option.
Sun protection matters more than most beginners expect. NPS wildlife watching guidance recommends long-sleeved shirts, a hat, sunscreen, and sunglasses, and that's solid advice especially for open habitats like wetlands or grasslands where there's no shade. A hat with a brim also cuts glare, which helps when you're scanning a bright sky for raptors.
Optional gear worth knowing about (but not required)
Once you've been out a few times and caught the birding bug, there's a whole world of add-ons that can make the experience better. None of these belong in a beginner's bag on day one, but they're worth knowing exist so you can add them intentionally rather than impulsively.
| Gear | What it does | Worth buying when... |
|---|---|---|
| Camera with zoom lens or phone adapter | Lets you photograph birds for later ID and to share sightings | You find yourself wishing you could review what you saw |
| Tripod or monopod | Stabilizes binoculars or a spotting scope for long-distance or stationary watching | You're watching shorebirds, waterfowl, or distant raptors regularly |
| Spotting scope | 20x–60x magnification for birds at extreme distances | You start doing serious shorebird or hawk watching |
| Notebook or eBird app | Lets you log species, counts, and locations | You want to track your list or contribute to citizen science data |
| Strap or harness for binoculars | Reduces neck fatigue on long outings | Your neck hurts after an hour of birding |
| Merlin (sound ID feature) | Identifies birds from ambient audio in real time | You already have Merlin and want to find birds you can hear but not see |
One thing I'd flag specifically: the eBird app doubles as both a bird log and a hotspot finder, and it's free. eBird’s Mobile Explore also helps you discover nearby hotspots in an area and gives planning info such as which hotspots have been visited recently and navigation directions Mobile Explore helps you discover eBird Hotspots in an area. If you download Merlin, eBird is worth having alongside it. Together they cover identification, finding good spots, and recording what you see, which is basically the full digital toolkit for birding.
Building a starter setup on a budget
Here's a realistic beginner setup at three price points. These are approximate ranges as of 2026, and actual models will vary, but this gives you a framework for what to expect.
| Tier | Binoculars | Field guide / app | Approx. total cost |
|---|---|---|---|
| Entry (get started today) | 8x42, $130–$170 range | Merlin (free) + library field guide | $130–$170 |
| Solid beginner setup | 8x42, $170–$240 range | Merlin + regional field guide (~$20–$30) | $190–$270 |
| Mid-range upgrade | 8x42, $300–$500 range | Merlin + Sibley or national guide + eBird | $320–$530 |
The most common beginner mistake with budget is buying the wrong thing cheaply rather than the right thing affordably. A $60 pair of binoculars from a big-box store that has slow focus, no water resistance, and dim optics will frustrate you more than a $160 pair of proper birding binoculars. Spend your money on glass first. You can borrow a field guide from a library, use a free app, and wear whatever you already own.
Getting ready for your first outing
Practice with your binoculars before you need them
This sounds obvious but almost nobody does it. Spend 10 minutes at home practicing finding and focusing on objects across the yard before you go somewhere with actual birds. The most common beginner frustration is fumbling with the focus wheel while a warbler sits in a bush for three seconds and then vanishes. Know which direction the wheel turns to focus closer versus farther. Set the diopter adjustment (the small ring on the right eyepiece) for your eyes. It makes a real difference.
Timing matters more than location
The hour after sunrise is when bird activity peaks. Birds are feeding, singing, and moving, which means they're visible and findable. If you go out at noon in summer, you'll wonder where all the birds went. Early morning isn't just a birder cliché. It's the difference between seeing 20 species and seeing 5. You don't have to be out at dawn, but within the first two hours after sunrise is where the action is.
Stay comfortable and safe
Bring water, especially if you're going somewhere warm. Bring along water, and if you’re curious, look up what a bird needs to stay healthy. As a general rule, most birds need fresh water daily, but the exact amount varies by species and temperature how much water a bird needs. Wear layers you can remove.
Tell someone where you're going if you're headed somewhere remote. Birding spots tend to be parks, trails, and nature reserves, but even a familiar trail can go wrong if you roll an ankle without cell service. Keep it simple for your first few outings: pick a destination with clear trails, know your exit, and don't bring more gear than you can comfortably carry for two hours.
Ethics from day one
A quick but important note: don't use bird call audio to attract birds. Both NPS and the American Birding Association flag this clearly. Playing recorded calls can cause unnecessary stress to birds, disrupt territory and mating behavior, and in heavily birded areas, the cumulative effect can be significant. Merlin's real-time Sound ID is passive (it just listens), which is fine. But actively broadcasting calls through a speaker to lure birds in is something to avoid, especially for rare or threatened species. The broader principle is Audubon's: avoid causing unnecessary stress or disturbance to birds.
How to keep getting better after your first outing
The biggest jump in skill comes from going out consistently rather than waiting for the perfect conditions or location. Even 30 minutes in a local park twice a week will train your eyes and ears faster than one full-day trip per month. Here are the habits that actually move the needle for beginners.
- Log your sightings in eBird. Even simple checklists ("I was here for 30 minutes and saw these 8 species") build a useful personal record and contribute to citizen science data that powers tools like Merlin.
- Use eBird's Explore tab to find nearby hotspots. Filter by recent activity to see what other birders have reported in the last week, which tells you where the birds actually are right now.
- Learn bird topography basics. Knowing what a supercilium, wingbar, or eye ring is makes field guide descriptions 10 times more useful. Most guides include a labeled diagram. Spend five minutes with it.
- Focus on learning common birds really well before chasing rarities. Knowing your local sparrows, wrens, and warblers inside out makes you better at spotting the unusual ones.
- Go with someone more experienced at least once. Local birding clubs and Audubon chapters often run free or low-cost walks for beginners, and learning in the field from someone who knows the area is worth more than any amount of reading.
Common mistakes to avoid as you develop: carrying too much gear (exhausting and noisy), moving too fast through habitat (you'll flush birds before you see them), and looking only for birds you already know. Stay slow, stay quiet, and look at everything. The bird you can't identify yet is often the most interesting one in the bush.
If you're thinking about how bird watching intersects with caring for a pet bird at home, the skills and vocabulary you build outside genuinely carry over. If you're thinking about how bird watching intersects with caring for a pet bird at home, the skills and vocabulary you build outside genuinely carry over, and for the basics of what do you need for a pet bird, see this related guide.
Trees provide birds with shelter, perches, and food, so choosing a bird-friendly habitat is one of the easiest ways to support local birds how does a tree help a bird. Understanding wild bird behavior and habitat makes you a more attentive keeper of any bird you bring indoors, and topics like what a bird needs in terms of space, enrichment, and daily routine look different once you've watched birds in the wild making those choices for themselves.
If you're caring for a pet bird, it's also worth learning how much space does a bird need to stay active and healthy. Those needs also change with weather, like shelter and warmth when it rains what a bird needs.
Bottom line: grab an 8x42 binocular in your budget, download Merlin, find a park, and go in the morning. That's it. You're ready.
FAQ
Can I go bird watching without binoculars or a field guide?
Yes, you can start observing right away, but binoculars and an ID tool prevent the most common beginner frustration (not knowing what you just saw). If you truly do not have binoculars, use your phone camera with decent zoom and note location, then identify later with Merlin or a regional guide. Do not rely on random photos without recording where and when you took them.
What’s better for beginners, 8x42 or 10x42?
Choose 8x42 first. 10x helps magnify, but it makes hand shake more noticeable and tracking moving birds harder because the field of view is narrower. If you are already steady (or using a strap and good stance) and you mostly bird in open areas, 10x42 can work, but for your first pair, 8x42 is the lower-stress option.
What if the binoculars blur or look different in each eye?
That usually means you need to set the diopter (the small adjustment on one eyepiece) for your dominant-eye focus. Set diopter while viewing a sharp edge object, then recheck after a few minutes. Also confirm you are using the center focus wheel, not separate barrel adjustments, because speed and consistency matter when birds move.
How close should I get to birds while using binoculars?
You can stay farther than you think. Binoculars are meant to let you observe without approaching, but avoid closing distance if the bird shows signs of stress (head flicking, sudden flushing, repetitive calling). If you need to reposition, do it slowly, from cover, and do not chase.
Do I need a tripod or monopod for bird watching?
Not for a first outing. A monopod can help with longer sessions or heavier binoculars, but beginners usually learn faster by holding and tracking with practice. If you choose a support, test it briefly before your walk so it does not slow you down when birds appear.
Is Merlin Bird ID accurate outside the US?
Merlin is strongest where eBird data is dense. In places that are less surveyed, the top suggestions can still be helpful, but expect more uncertainty. The practical move is to use photo ID plus your field-guide region, then cross-check with range maps for your exact time of year.
What should I do if Merlin recommends birds that don’t seem to match?
Use it as a shortlist, not a final answer. Compare traits that remain visible even when a bird moves (beak shape, wing bars, tail length, overall size relative to nearby branches) and then verify with the guide’s range map for your location and date. If none match, record the observation and try again later with better light or a clearer photo.
Do I need to download an offline region in advance?
Yes, if you might bird in areas without reliable cell service. Download the region data for the location you plan to visit before you leave home, and verify it worked by opening Merlin when you are at home or somewhere with poor reception. Offline mode still depends on the region you selected.
Can I use eBird if I’m not sure what species I saw?
You can still log observations, but you should choose the most honest ID level available in the app (for example, broader categories when species-level certainty is low). Better entries include time, location, and a few key notes, because that helps validate future sightings. If you are unsure, add “needs ID” style detail rather than guessing.
What time of day is best if I can’t go early morning?
Late afternoon and the first couple hours after sunrise are usually the best alternatives, because light is better and birds are active. If you go around midday, focus on edges and shaded cover where birds may still forage, rather than relying on open-sky scanning.
How do I avoid carrying too much gear without missing the basics?
Use the two-item rule plus a minimal safety set. Binoculars, an ID option, water, and sun protection cover most beginners. If you bring anything else, limit it to one compact item you will actually use (like a light rain shell). Heavy bags make noise and reduce your patience for slow scanning.
What should I wear if it’s hot, humid, or sunny?
Prioritize sun and airflow. Wear a hat with a brim, long sleeves if the sun is strong, and consider lightweight layers you can remove quickly. Sunglasses help reduce glare while scanning, and breathable fabric reduces the temptation to sit out when the weather warms up.
Is it okay to play bird calls to get birds to respond?
No, avoid broadcasting recorded bird calls through speakers. That can stress birds and disrupt normal behavior. Passive listening features are different, but for field use, stick to observing without audio playback, especially for sensitive or rare species.
What’s the fastest way to get better at focusing your binoculars?
Practice on a variety of distances before you leave (yard objects, street signs, treetops), then set your diopter once you know what “sharp” looks like. When you’re outside, pause for 5 to 10 seconds on a still object before scanning, so you do not fight the focus wheel while a bird is in view.