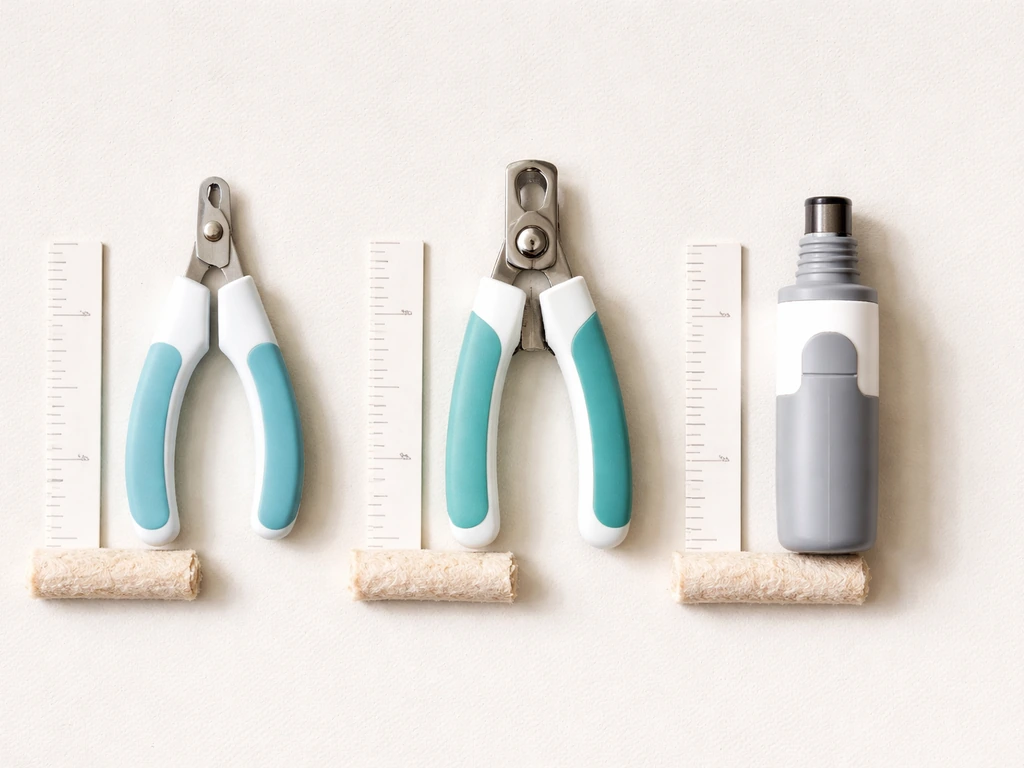
For small birds like budgies, cockatiels, and small conures, a sharp pair of scissor-style small animal nail clippers is the best tool. For medium to large parrots, you want a heavier-duty scissor clipper or a nail grinder like a Dremel. Guillotine-style clippers work in a pinch but can crush the nail rather than cut cleanly, which is harder on your bird and harder to control. Whatever you choose, sharp blades and good lighting matter more than the brand name on the box.
Best Bird Nail Clippers: How to Choose and Trim Safely

Marcus Chen
12 May 2026
Why nail trimming matters (and when it's actually needed)
Bird nails grow continuously, and in the wild they wear down naturally against bark, branches, and rough surfaces. In captivity, that wear doesn't always keep pace with growth. When nails get too long, your bird starts to struggle to grip its perch properly. Overgrown nails can also curve enough to catch on cage bars, fabric, or toys, which can cause a nasty injury. A good benchmark: if your bird stands on a flat surface and the nails lift any toe off the surface, they're too long.
That said, there's a real tradeoff here that a lot of beginner guides skip over. Trimming too short actually reduces your bird's grip and increases the risk of falling from a perch. The Merck Veterinary Manual specifically calls out that the goal isn't to make the [nail as short as possible](https://www. merckvetmanual.
com/exotic-and-laboratory-animals/pet-birds/management-of-pet-birds), it's to blunt the needle-like tip while leaving enough nail for a stable hold. So if your bird's nails aren't dangerously long or painfully sharp when they grip your hand, you may not need to trim at all right now. It's also worth knowing that nail trims are sometimes requested by owners for their own comfort (sharp nails on a bird that lands on your shoulder), not because the bird truly needs it.
The interval that makes sense for most small birds is roughly every 4 to 8 weeks, but that varies a lot depending on perch types, diet, and the individual bird. If you're using a cement or rough-texture perch alongside softer perches, you may go longer between trims naturally.
Scissor vs. guillotine vs. file: which style is actually best for birds
This is the question most first-timers get wrong, often because they grab whatever clipper is marketed as 'bird nail clippers' without thinking about fit for their specific bird. Here's how the main options actually compare.
| Clipper Type | Best For | Pros | Cons |
|---|---|---|---|
| Scissor-style (small animal) | Budgies, cockatiels, small to medium parrots | Clean cut, easy to position, good control, widely available | May need two hands; harder on very thick nails |
| Guillotine-style | Small to medium birds | Compact design, familiar to some owners | Can crush rather than cut cleanly; harder to position correctly on small bird feet |
| Nail grinder (Dremel/hobby tool) | Medium to large parrots (African Greys, Amazons, Macaws) | Gradual material removal, low risk of sudden overcutting | Noise and vibration can stress birds; requires practice; risk of heat buildup |
| Nail file / emery board | Any bird for finishing / light maintenance | Zero risk of cutting quick, great for smoothing sharp tips | Too slow as a primary tool for overgrown nails |
My honest recommendation: start with scissor-style clippers for almost any bird under cockatoo size. They give you the best combination of control, clean cut, and easy repositioning. The guillotine design can work, but the way the blade engages makes it easy to misalign on a small, wriggly foot, and a bad cut from a crushing motion is more painful than a clean snip. For larger parrots with thick, hard nails, a Dremel-style grinder is genuinely the safer choice because you're removing material gradually instead of making one committed cut.
What actually makes a clipper the 'best' one
Forget the marketing. Here's what actually separates a good bird nail clipper from a frustrating one.
- Size match: A clipper sized for cats or dogs is too large for a budgie or cockatiel. You want a small animal or bird-specific clipper with a narrow jaw opening so you can position it precisely on a tiny nail without accidentally catching the toe.
- Blade sharpness and quality: Dull blades are one of the most common causes of nail splitting and quick injury. Stainless steel blades that stay sharp for multiple uses are worth the extra few dollars. If your clipper is leaving ragged edges, replace it.
- Ergonomics and grip: You're doing this with one hand while holding a bird with the other (or with a helper). A clipper that requires a death grip to operate will tire your hand and cause you to rush. Look for spring-loaded handles.
- Replacement blades or low cost: For small scissor clippers, it's often easier to just replace the whole thing every 6 to 12 months rather than buy replacement blades. Factor that into what you spend upfront.
- Easy to clean: Nail dust and debris accumulate. Simple stainless designs wipe down quickly, which matters for hygiene if you have multiple birds.
- Safety guard (optional but helpful for beginners): Some clippers have a small guard that limits how far the blade can travel, reducing the chance of overcutting. Not universal, but worth looking for if you're new.
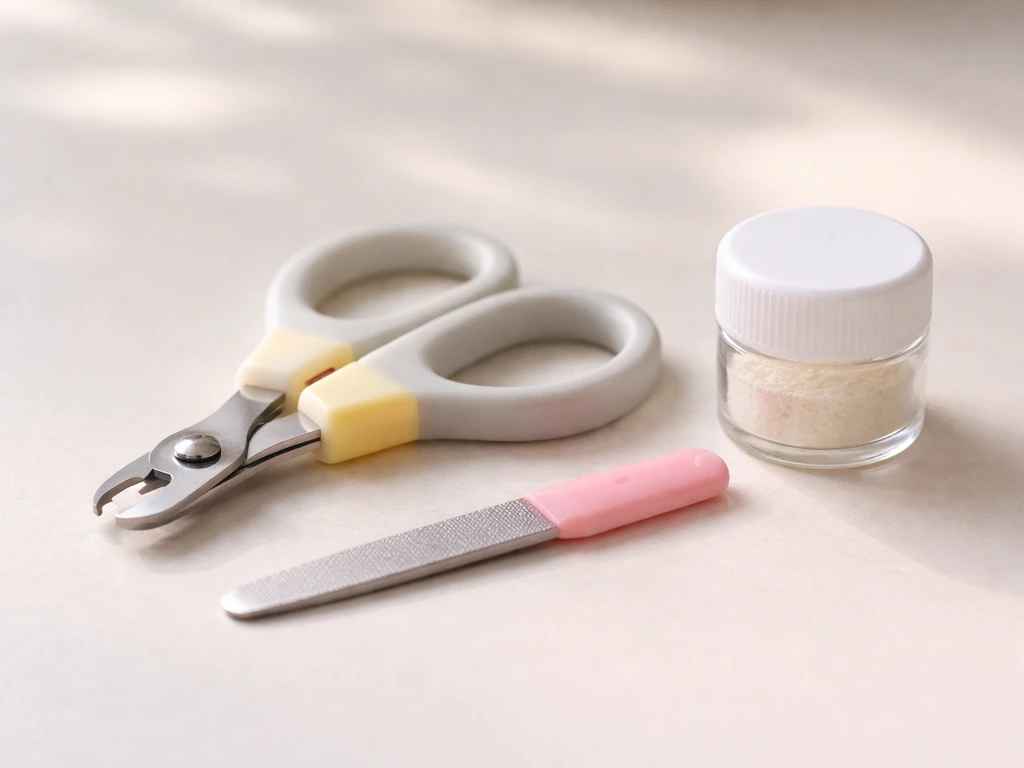
You don't need to spend a lot here. A $10 to $20 small animal scissor clipper from a pet store or online retailer will outperform an expensive guillotine clipper if the blades are sharp and the size is right for your bird. If you are wondering about cost, most bird owners can start for under $20 by choosing a basic scissor-style clipper and keeping styptic powder on hand A $10 to $20 small animal scissor clipper.
Petco may offer bird grooming services, but availability can vary by location, so it's worth checking with your local store Petco bird grooming. What you should also have on hand before your first trim: styptic powder (ferric subsulfate, sold at most pet stores) or cornstarch as a backup, a towel for gentle restraint, a bright light source, and ideally a second person to help hold the bird.
How to trim your bird's nails: step-by-step for first-timers
The biggest mistake first-time trimmers make is rushing. Take your time, do fewer nails per session if you need to, and stop if the bird is panicking. A stressed bird and a sharp clipper are a bad combination.
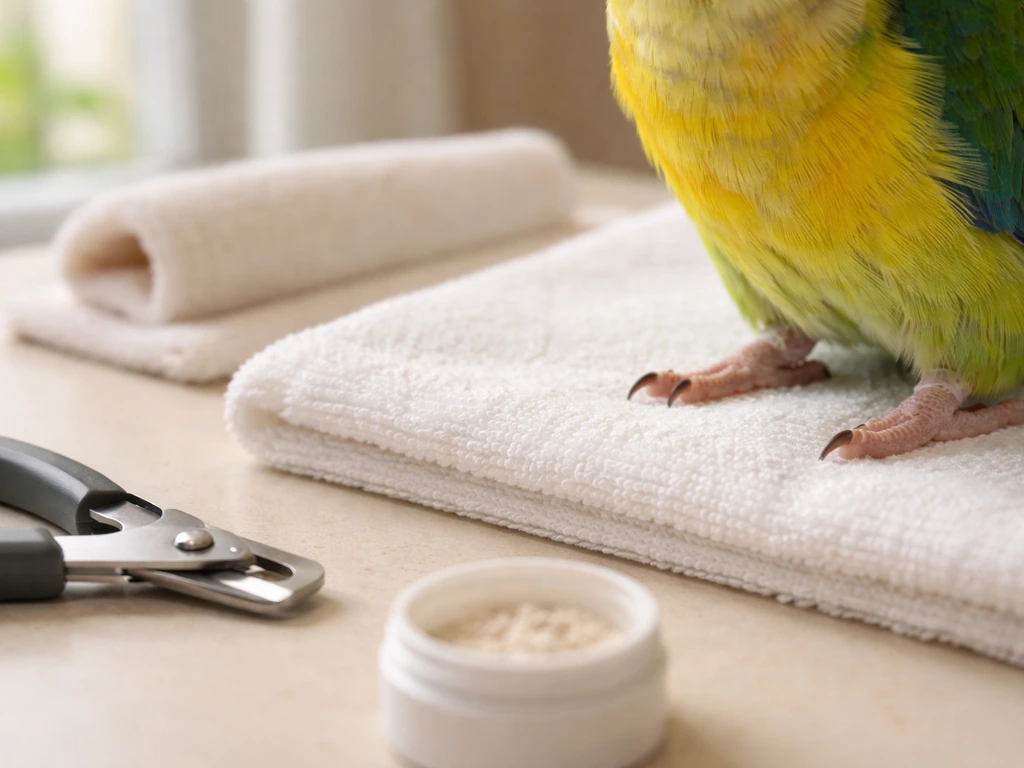
- Gather everything before you pick up the bird: clippers, styptic powder or cornstarch, a small towel, bright lighting (a desk lamp works great), and treats for after.
- If possible, have a second person help. One person holds the bird gently but securely in a towel (with the head free and clear, not covered), and one person trims. For very small, calm birds some owners do this solo, but starting with a helper is smarter.
- Wrap the bird loosely in a small towel so the feet are accessible but the wings and body are controlled. Keep the wrap snug but not tight. The goal is to reduce startled flapping, not to squeeze.
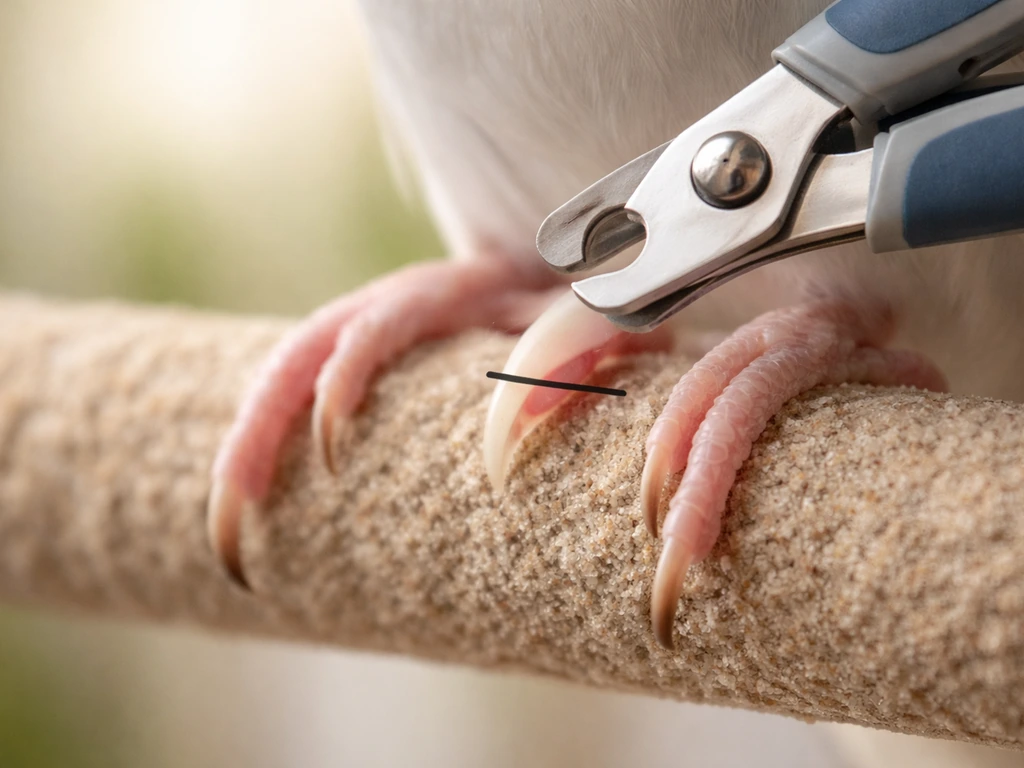
- Under your bright light, extend one foot and look at a single nail. For light-colored nails, you should be able to see the pink quick as a line running partway down the nail. The quick tapers toward the tip, so the very tip of the nail is safe to cut. For dark nails, work conservatively and trim only the very tip.
- Position the clipper blades just past where the nail starts to curve into a point, well clear of where you can see (or estimate) the quick ends. You're removing only the sharp tip, not shortening the whole nail dramatically.
- Make one smooth, confident cut. Hesitating and sawing at the nail is worse than a clean single motion. If the nail is very thick, make sure your clipper is sized for it before you commit.
- Check the cut end immediately. If it looks pink or red, stop on that nail. If it's clean white or gray, you're clear.
- Move to the next nail, or give the bird a break if they're stressed. It's completely fine to trim two nails today and two nails tomorrow.
- After all nails are done, use a nail file or emery board to lightly smooth any sharp edges left by the cut. This takes about 10 seconds per nail and makes a real difference in how the nail feels on your skin.
- Reward the bird immediately with a treat and calm praise. This matters more than it sounds, because you're building the association that nail trims lead to good things.
Finding the quick on dark nails
Dark nails don't give you the visual cue of a pink quick, which is genuinely tricky. If you do end up trimming overgrown nails, the quick can be longer than expected, so take the nail in small one-clip increments and be ready for bleeding or cleanup.
An aviculture-europe PDF guide also warns that when clipping nails you should avoid cutting so far that you clip the quick, and it notes that a light can help you find it, especially for birds with dark nails Dark nails don't give you the visual cue of a pink quick.
The safest approach is to trim just the very tip, the part that hooks downward into a point, and stop there. You can always take off more in a future session. With dark nails, 'less is always more' is not just advice, it's the rule. Over several sessions you'll start to learn your bird's nail anatomy and feel more confident.
Common mistakes that cause problems
I've seen (and made) most of these. They're all avoidable once you know what to watch for.
- Cutting too much at once: This is the number one cause of a bleeding, frightened bird. The quick can extend further out than normal in overgrown nails, making the risk even higher than it looks. Trim less than you think you need to.
- Poor lighting: If you can't clearly see the nail, you're guessing. A dedicated bright light aimed at the foot is not optional for beginners.
- Using dull or wrong-sized clippers: A dull blade crushes and splits before it cuts. A clipper too large for the nail gives you no control over placement. Both outcomes are bad.
- Letting the bird thrash at the moment of the cut: If the bird lunges or flaps right as you cut, you can easily slip and cut the quick or the toe itself. Gentle, secure towel wrapping prevents most of this.
- Trimming all nails in one stressful session when the bird hates it: Splitting the session across two days is better than forcing through eight nails while the bird is panicking. Stress makes future trims harder.
- Skipping the styptic powder: Have it open and within reach before you start, not in a drawer across the room. If you cut the quick, seconds matter for stopping the bleeding quickly.
- Using human nail clippers: The blade angle and jaw shape on human clippers are not designed for the rounded, tapered shape of a bird nail. They tend to crush rather than cut. Just get the right tool.
What to do after the trim (and if something goes wrong)
After a clean trim, take a quick look at each nail. The cut surface should look smooth and clean with no pink, red, or wet appearance. Run a nail file lightly over any rough edges. Then let the bird back to its cage, give it food and quiet time, and watch for normal behavior. Most birds shake it off quickly once the towel is off.
If you nick the quick and the nail bleeds
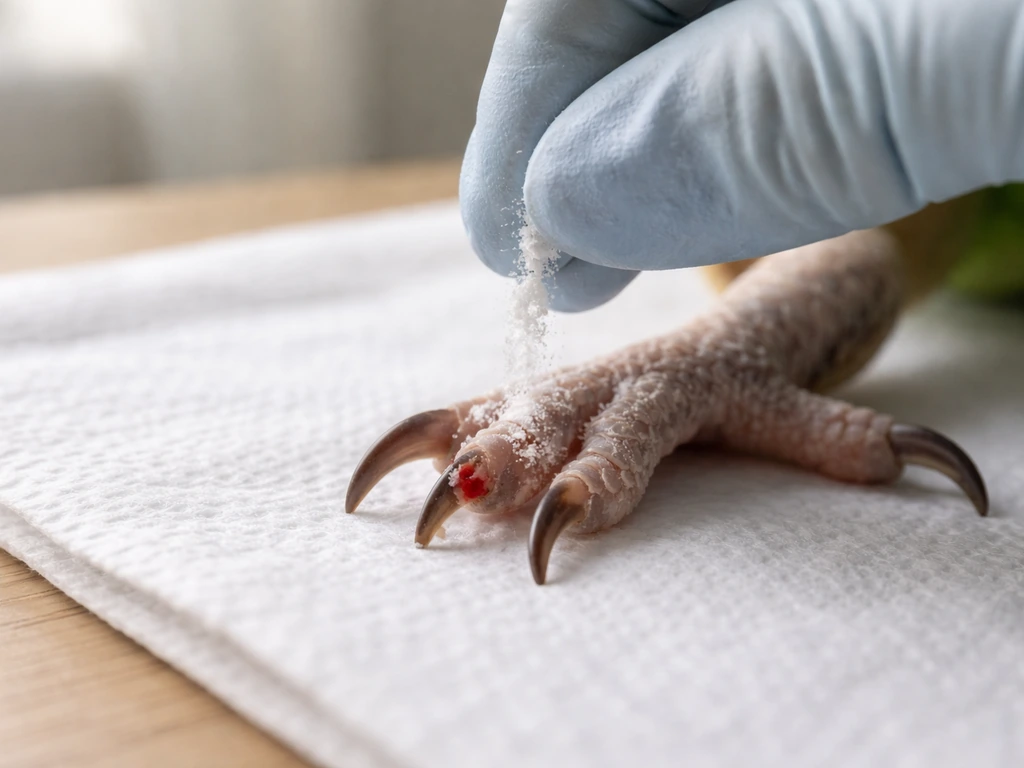
Stay calm, because your bird will pick up on your panic. Apply a small pinch of styptic powder directly to the bleeding nail tip and hold gentle pressure for 30 to 60 seconds. Styptic powder (with ferric subsulfate as the active ingredient) is specifically designed for this and works fast. If you don't have styptic powder, cornstarch or flour pressed firmly against the nail tip can also help clot the bleeding. Do not use styptic on open wounds or broken skin, only on the nail itself.
After the bleeding stops, keep the bird on a clean surface (no dirty cage substrate that could contaminate the nail) and watch for the next 30 minutes. A very small amount of bleeding from a clipped nail is not an emergency. But if the bleeding does not stop within a few minutes of steady pressure, or if you can't tell where the blood is coming from, contact your avian vet or an emergency animal hospital right away. Birds have small blood volumes and can deteriorate quickly from prolonged bleeding.
In the following days, check the nail daily for any signs of swelling, discharge, or the bird favoring that foot. These could signal an infection worth having a vet look at.
Alternatives and support tools that make nail care easier
Clippers aren't the only way to manage nail length, and honestly the best long-term strategy combines several approaches. Bird owners sometimes also ask whether cuttlebone can be used as a tool for snail shells or nail wear in other pet care contexts. You typically should not clip feathers for nail-trimming purposes; if you need feather care, ask an avian vet or a qualified groomer what is appropriate for your bird.
- Rough or cement perches: One cement perch in the cage (not the only perch) naturally files the nails down with everyday use. Merck specifically recommends this as a supplemental tool. Just make sure the bird has softer perch options too, because standing on cement all day is rough on the feet.
- Nail files and emery boards: Great for finishing after a clip, or for very minor sharpness between full trims. Not fast enough for overgrown nails on their own.
- Nail grinders (Dremel-style): The RSPCA specifically notes these as a preferred tool for larger parrots. If your bird can tolerate the noise and vibration (which takes some desensitization training), grinding is safer than clipping for thick nails because you remove material gradually rather than in one cut.
- Professional grooming at a vet or pet store: This is genuinely the right call if you're not confident, if your bird is large and aggressive, or if you've had a bad experience cutting the quick. Many avian vets include nail trims as part of a routine checkup. The cost is modest and the peace of mind is real. If you're curious what professional nail trimming costs, that's a separate topic worth looking into.
- Training your bird to accept foot handling: Starting early and rewarding calm foot touching makes every future trim easier. Merck recommends reward-based training specifically for this purpose. Even if you plan to take your bird to the vet for trims, a bird that doesn't freak out when you touch its feet is a healthier, easier-to-care-for bird.
Your quick-reference checklist before you buy and trim
Use this before you head to the store or hit 'add to cart' online, and again before your first trim session.
- Clipper type: scissor-style for small to medium birds; grinder for large parrots
- Size: nail opening should fit the individual nail without slipping or requiring awkward force
- Blade quality: stainless steel, sharp enough to cut cleanly in one motion
- On hand before trimming: styptic powder or cornstarch, a small towel, bright light, treats
- Helper: strongly recommended for your first trim, especially for birds that don't like handling
- Goal: remove only the sharp tip, leave enough nail for stable perching grip
- After trimming: smooth rough edges with a file, check for bleeding, reward the bird, monitor for 24 to 48 hours
- When to call the vet: bleeding that doesn't stop in a few minutes, signs of infection, a bird that's too stressed or aggressive to trim safely at home
FAQ
What if my bird never seems to need trims, should I still check nail length regularly?
If you do not trim, use nail wear strategies that reduce overgrowth risk between trims, such as adding a rough perch (cement, natural wood with varied diameters) and making sure your bird gets time on surfaces that naturally file the nails. Also recheck length sooner for birds that use mostly smooth perches, because nails tend to grow longer than expected in captivity.
My bird panics during trimming. Should I push through or take a break?
Stop at the first session sign of difficulty, do fewer nails, then wait. If your bird is still panicked after you take a break, it is safer to schedule a professional trim, since repeated rushed attempts increase the chance of hitting the quick. For many birds, spacing practice sessions out over several weeks improves tolerance.
How do I trim safely when my bird has dark nails and I cannot see the quick?
For dark nails, the most controllable approach is trimming only the tiny hook portion that would catch and stop. Try to avoid cutting back toward where the nail thickens. If you cannot clearly identify any hook to remove, skip that nail rather than guessing, because you will not be able to see the quick in dark nails.
Can I trim nails to fix curved or snagging nails, or should I see a vet?
Yes, but only if the problem is specific and you can keep the nail from catching. Avoid clipping to “reshape” nails that are already curved if you are not sure where the injury risk is, instead focus on removing only the snag-prone tip and monitor closely. If the nail is severely curved, lifting, or repeatedly catching toys or cage bars, consult an avian vet to rule out deformity or pain.
What should I do if the trim looks uneven or rough?
If the cut surface looks jagged or you see a rough ridge, file lightly after trimming. Do not keep trimming the same nail to “smooth it out,” because repeated passes raise the risk of bleeding. A single careful snip, then file, is usually safer than multiple snips.
Are grinders like Dremels safe for all birds, and how do I prevent overheating?
A grinder can work well for thick nails, but it must be used in short, controlled bursts to avoid heat buildup, and you still need good lighting. If you see sparking, the bird pulls away, or you cannot keep the bird steady enough to control the contact point, switch to scissor-style clippers for that session or postpone and try again later.
What if the nail is still bleeding after using styptic powder?
Styptic powder and cornstarch should be applied only to the nail tip that is bleeding, not to surrounding skin. If bleeding starts from broken skin or a true wound, do not treat it like a quick bleed, instead clean gently and contact an avian vet. Also remember that a little bleeding can be normal, but persistent bleeding despite steady pressure needs urgent guidance.
How should I clean and maintain bird nail clippers?
Clean the clippers between sessions by wiping debris off the blades, then sanitize according to the manufacturer’s guidance. Dirty blades can worsen jagged cuts, and contamination can increase infection risk if a nail was nicked. Also check the blade alignment, dullness, and looseness before trimming.
When is the best time to trim nails, and does it matter for behavior?
In general, many birds do better with trimming on a calm schedule when they are not hungry, not at the peak of the day’s activity, and not right after bath time. Pick a time when your bird is settled, ensure bright light, and have a second person ready. If your bird associates handling with fear, schedule a short, non-trimming handling session first so the restraint is familiar.
My bird’s nails still catch on things even after trimming. What should I adjust first?
If your bird is repeatedly catching nails despite trims, the issue may be perch setup, nail growth rate, or nail shape, not the tool alone. Add or switch to rough perches, vary perch diameters, and consider a professional assessment if you cannot achieve a stable grip without frequent trims.
Next Article
What Feathers to Clip on a Bird for Wing Clipping
Learn which flight primaries to clip for wing clipping, how to trim safely, and how often you’ll need to reclip.